Split-Screen Multitasking: How to Use It Like a Power User
Split-Screen Multitasking
In the age of multitasking and digital productivity, one underrated feature can significantly boost your efficiency: Split-Screen Multitasking. Whether you’re writing an email while referencing a document, comparing two web pages, or watching a video while taking notes, mastering this feature turns your device into a multitasking powerhouse.
In this comprehensive guide, we’ll explore Split-Screen Multitasking: how to use it like a power user, along with tips, tricks, and real-world applications. The goal is to help you maximize productivity and make your Android device (or tablet, Chromebook, or even desktop) work smarter for you.
10 Essential Android Apps You Should Be Using in 2025
What Is Split-Screen Multitasking?
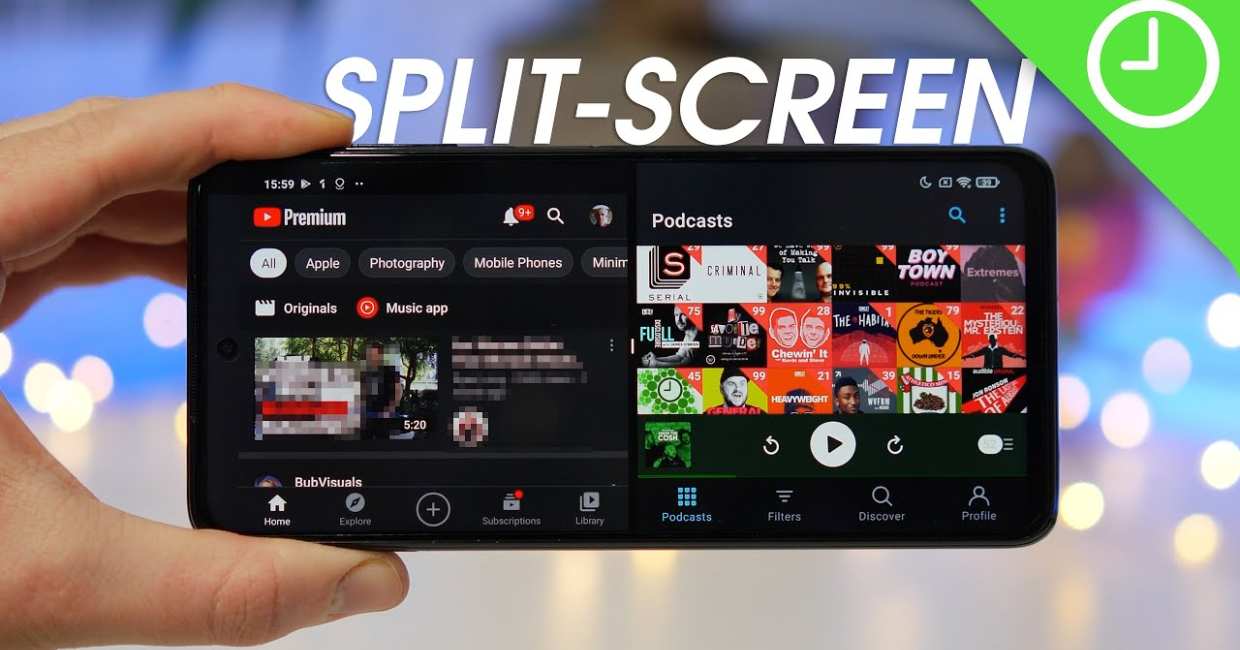
Split-Screen Multitasking is the ability to run two apps side-by-side on your screen. It allows you to interact with both simultaneously without switching back and forth. It’s like having two windows open on your smartphone or tablet, improving workflow and minimizing distractions.
For busy professionals, students, content creators, and everyday users, Split-Screen Multitasking can become a powerful productivity tool when used correctly.
Why Split-Screen Multitasking Matters
1. Time Efficiency
Switching between apps wastes precious seconds. Split-Screen Multitasking eliminates that by letting you interact with both apps at the same time.
2. Better Focus
Instead of juggling tasks, you can streamline them. For example, write an article in one window while referencing notes or research in the other.
3. Ideal for Collaboration
Chat with teammates on one side while reviewing a project document on the other.
4. Enhanced Creativity
Design in one pane while watching a tutorial in the other, or brainstorm in notes while browsing inspiration on the web.
How to Use Split-Screen Multitasking on Android
Most Android devices running version 7.0 and above support Split-Screen Multitasking.
Step-by-Step Guide:
- Open the First App
Launch the app you want to use in the top or left half of the screen. - Access the Recent Apps Menu
Tap the square button or swipe up and hold, depending on your Android version. - Tap the App Icon
Select “Split screen” from the dropdown menu that appears. - Choose the Second App
Tap the second app you want to open. It will appear on the remaining half of the screen. - Adjust the Divider
Drag the middle bar to resize windows based on priority.
Congratulations—you’ve just enabled Split-Screen Multitasking on Android!
Split-Screen Multitasking on Tablets and Larger Devices
If you’re using a larger Android tablet or a Chromebook with Android app support, Split-Screen Multitasking becomes even more intuitive. Some devices allow drag-and-drop between split apps and support floating windows for additional flexibility.
Samsung’s One UI and Lenovo tablets also support multi-active windows—an advanced version of split-screen that lets you run up to three apps side-by-side.
Tips to Master Split-Screen Multitasking Like a Power User
1. Know Which Apps Support It
Not all apps support Split-Screen Multitasking. Most native and productivity apps like Chrome, Gmail, Google Docs, and YouTube do. However, some games and camera apps may not.
2. Create Custom Shortcuts
Some Android launchers and skins (like Samsung’s Edge Panel or MIUI) allow you to pre-set app pairs. Launch two apps in split view with one tap.
3. Use Floating Windows Too
Combine Split-Screen Multitasking with floating windows for video calls, notes, or calculators. This gives you a three-window experience.
4. Leverage Keyboard Shortcuts
If using a keyboard (especially with tablets or Chromebooks), learn shortcuts to switch between apps or adjust layout. For example, on Windows, use Windows + Left/Right to snap apps, while Alt + Tab cycles between them.
5. Optimize for Battery and Performance
Split-Screen Multitasking uses more RAM. Close unused background apps to avoid lag. Opt for “Lite” versions of heavy apps to conserve battery.
Real-World Use Cases for Split-Screen Multitasking
A. Professionals and Office Workers
- Edit a spreadsheet while referring to an email
- Attend a video call and take meeting notes
- Send invoices while checking payment history
B. Students and Learners
- Watch a recorded lecture while taking notes
- Translate documents side-by-side
- Study with flashcards while reading source material
C. Content Creators
- Edit Instagram captions while designing in Canva
- Watch tutorials while applying techniques in an app
- Research content while drafting in Google Docs
D. Travelers and Bloggers
- Browse maps while texting a local guide
- Manage social media while uploading photos
- Book flights while tracking exchange rates
These examples show how Split-Screen Multitasking can adapt to different workflows and boost productivity across professions.
Troubleshooting Common Issues
1. App Doesn’t Support Split-Screen
Some apps are not compatible. You can:
- Use alternatives that do (e.g., Chrome instead of a browser that doesn’t support it)
- Enable “Force activities to be resizable” in Developer Options (with caution)
2. Lagging or Freezing
- Clear RAM and background apps
- Avoid using resource-heavy apps in split mode on low-end devices
3. Awkward Layout
- Rotate your device to landscape for better usability
- Resize windows to give the more important app more space
4. Losing Split View After Screen Lock
On some devices, split mode resets after the screen is locked. Keep this in mind and save progress regularly if needed.
Apps That Work Great in Split-Screen Multitasking
| App Category | Recommended Apps for Split-Screen |
|---|---|
| Notes | Google Keep, Evernote |
| Documents | Google Docs, Microsoft Word |
| Browsing | Chrome, Firefox |
| Video Calls | Google Meet, Zoom |
| Messaging | WhatsApp, Telegram |
| To-Do Lists | Todoist, Microsoft To-Do |
| Design | Canva, Adobe Express |
| Education | Coursera, Udemy, Khan Academy |
Pair these based on your needs to get the best Split-Screen Multitasking experience.
Split-Screen Multitasking on Other Platforms
Windows
Snap two apps by dragging them to screen edges or use shortcuts (Windows + Arrow keys). Windows 11 introduces Snap Layouts—great for multi-window multitasking.
macOS
Click and hold the green maximize button and select “Tile Window to Left/Right of Screen.”
iPadOS
Use Slide Over and Split View. Drag one app from the Dock to split screen or use the Multitasking button at the top of supported apps.
While this guide focuses on Android, Split-Screen Multitasking has become a universal productivity tool across ecosystems.
Combining Split-Screen with Other Productivity Tools
You can pair Split-Screen Multitasking with:
- Pomodoro Timers (track time while writing or reading)
- Task Managers (update to-do lists while completing tasks)
- Voice Assistants (ask Google Assistant to take notes while you work)
- Automation Apps (launch two apps together using Tasker or Bixby Routines)
These combinations unlock new levels of productivity and flow.
Final Thoughts: Make Split-Screen Multitasking a Habit
The more you use Split-Screen Multitasking, the more it becomes second nature. It’s not just a feature—it’s a way to optimize your time, reduce stress, and get things done faster.
Start small: maybe open your calendar and email together in the morning. Over time, explore more complex workflows, like writing a report while referencing a spreadsheet or planning travel with two apps side by side.
By integrating Split-Screen Multitasking into your daily device use, you become a true power user—efficient, focused, and always a step ahead.